
Flash — the thin film of plastic that escapes at the parting line, around ejector pins or along slides — is one of the most common injection molding defects. The fastest way to fix it is not to slow the injection speed. Work through the causes in a fixed order: first find when the flash forms, then check mold cleanliness, the parting line, mold support, the clamp, and finally the material.
Why "just slow it down" is the wrong first move
Reducing injection speed often hides flash for a while, but it lengthens the cycle and leaves the real cause in place. The flash frequently comes back during pack and hold. Treat slower filling as a last resort, not a first fix.
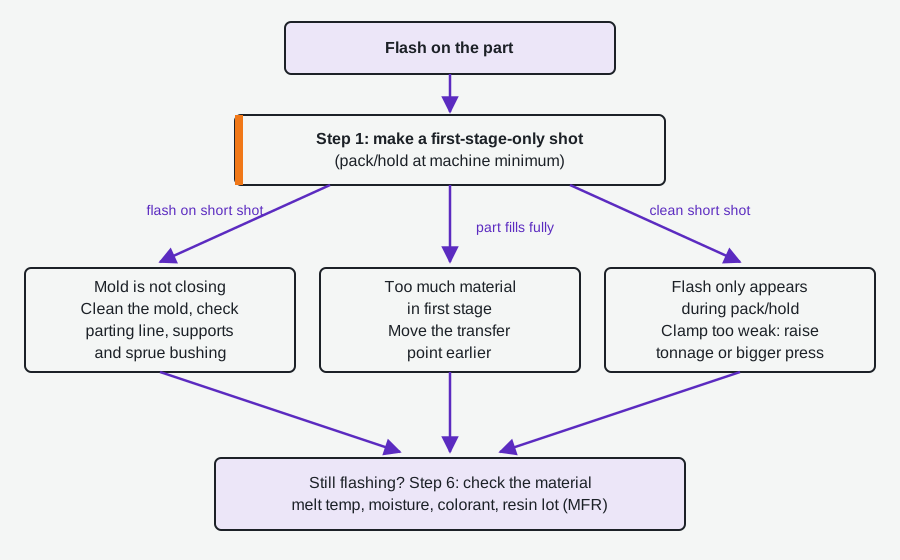
Step 1: Find out at which stage the flash forms
Set pack/hold pressure to the machine minimum and make a part using first-stage injection only. You should get a short shot.
- Flash on the short shot: the problem happens during filling — check the mold, parting line and clamp (steps 2–5).
- No short shot (the cavity fills completely): too much material is being pushed in during first stage. Move the transfer (switch-over) point earlier so that pack pressure finishes the part.
- Clean short shot, but flash appears with pack/hold: the clamp may not be holding against pack pressure — see step 5.
Step 2: Clean the mold
Plastic crumbs, dirt or debris on the parting line stop the mold from closing fully, and even a thin particle leaves a gap big enough to flash. Pay special attention to areas that are easy to miss: behind slides and inside leader-pin pockets. A thorough clean alone can solve the problem.
Step 3: Check the parting line
Use pressure-sensitive paper between the mold halves to see whether the shut-off faces contact evenly. Uneven marks point to a damaged or worn parting line, a mismatch between halves, uneven tie-bar stretch, or a press that is not level. Repair damaged shut-offs before changing the process.
Step 4: Check mold support and flow balance
- Support pillars: too few pillars, or pillars in the wrong place or of the wrong length, let the cavity and core plates deflect under injection pressure.
- Multi-cavity balance: if melt flow is unbalanced, one cavity can flash while another shows sink marks. Balance the runner system rather than tuning the process to the worst cavity.
- Sprue bushing: on molds that are not sprue-gated, a bushing that grows past the parting line when hot can push the moving half open. Check its length at operating temperature.
Step 5: Check the clamp — too little and too much
Too little clamp force lets the mold open slightly under pack pressure, especially on fast, thin-wall parts. If first-stage short shots are clean but flash appears during pack/hold, increase tonnage or move to a larger press.
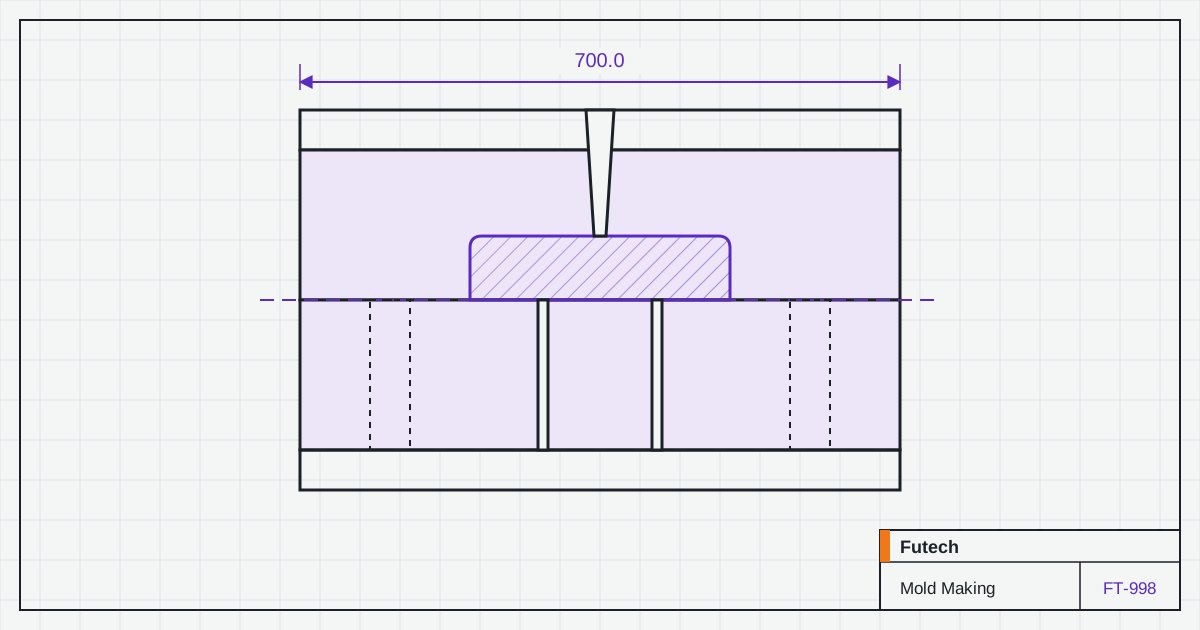
Too much clamp force is less obvious. A small mold on a large platen can make the platens bend around it, opening the center of the mold. Flash concentrated in the middle of the tool is a clue. As a guideline, the mold should cover about 70% of the tie-bar spacing; otherwise, reduce the tonnage.
Also verify platen parallelism and machine levelling — uneven tie-bar stretch should stay within about 0.002 in (0.05 mm).
Step 6: Check the material
A melt that is too runny flows into gaps it normally would not fill. Check melt temperature and residence time, moisture content, and whether too much colorant (with a lubricating carrier) is being added. Changes in the melt flow rate between resin lots can also trigger flash — try a different lot to confirm.
Quick checklist
| Symptom | Most likely cause | First check |
|---|---|---|
| Flash on first-stage short shot | Mold not closing fully | Clean mold, check parting line |
| Full part with no pack pressure | Transfer point too late | Move switch-over earlier |
| Flash only during pack/hold | Clamp too weak | Increase tonnage or bigger press |
| Flash in center of a small mold | Platen deflection from excess clamp | Reduce tonnage |
| One cavity flashes, another sinks | Unbalanced flow | Balance runners |
| Flash appears with a new resin lot | Melt viscosity change | Check MFR, moisture, melt temp |
Frequently asked questions
Can flash damage the mold?
Yes. Repeated flash packs plastic onto the shut-off faces, which can peen and damage the parting line over time and make the flash worse. Fixing the root cause early protects the tool.
Should I increase clamp force to stop flash?
Only if you have confirmed the clamp is too weak. Excess clamp force can itself cause flash on small molds and accelerates wear on the press and the mold.